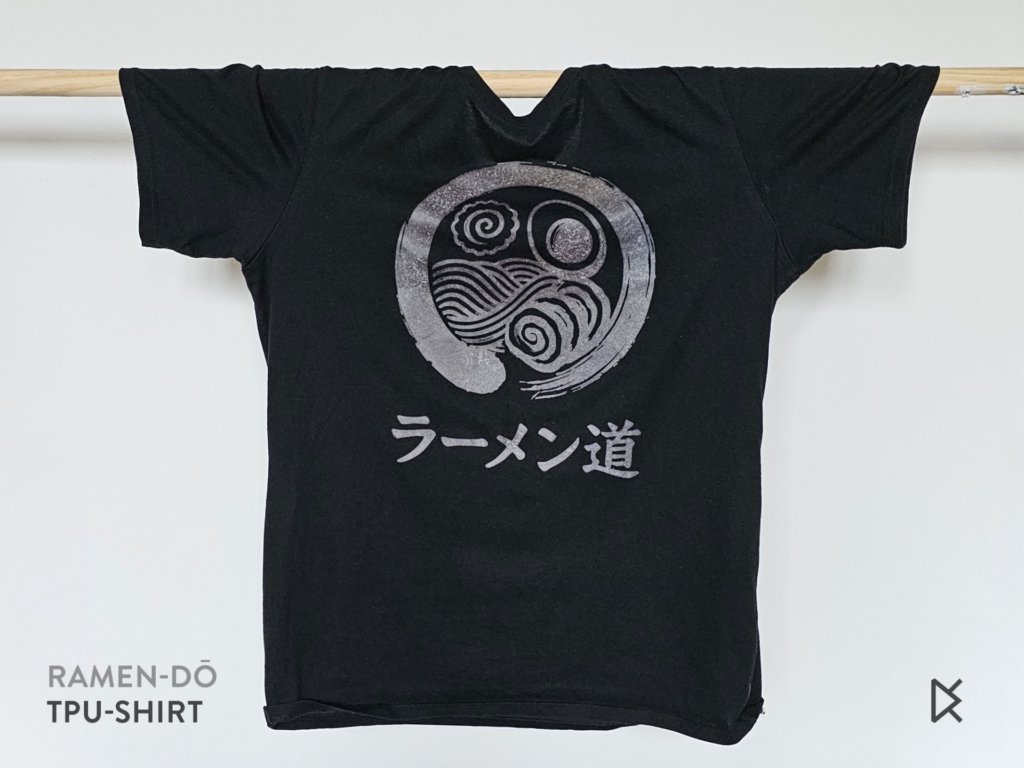
A 3D printer can decorate a T-shirt. Print a flat graphic in soft TPU onto baking paper, lay it on cotton and iron it: the TPU softens, flows into the weave and stays there. No transfer film, no press, no screen: only a printer, an iron and a sheet of baking paper.

Why it works
TPU melts at a temperature a household iron reaches, and soft TPU bonds well to porous fibres. Baking paper works twice: on the print bed it lets the graphic come off in one piece, and under the iron it keeps the TPU from sticking to the plate. The sheet of paper inside the shirt stops the print from fusing through to the back.
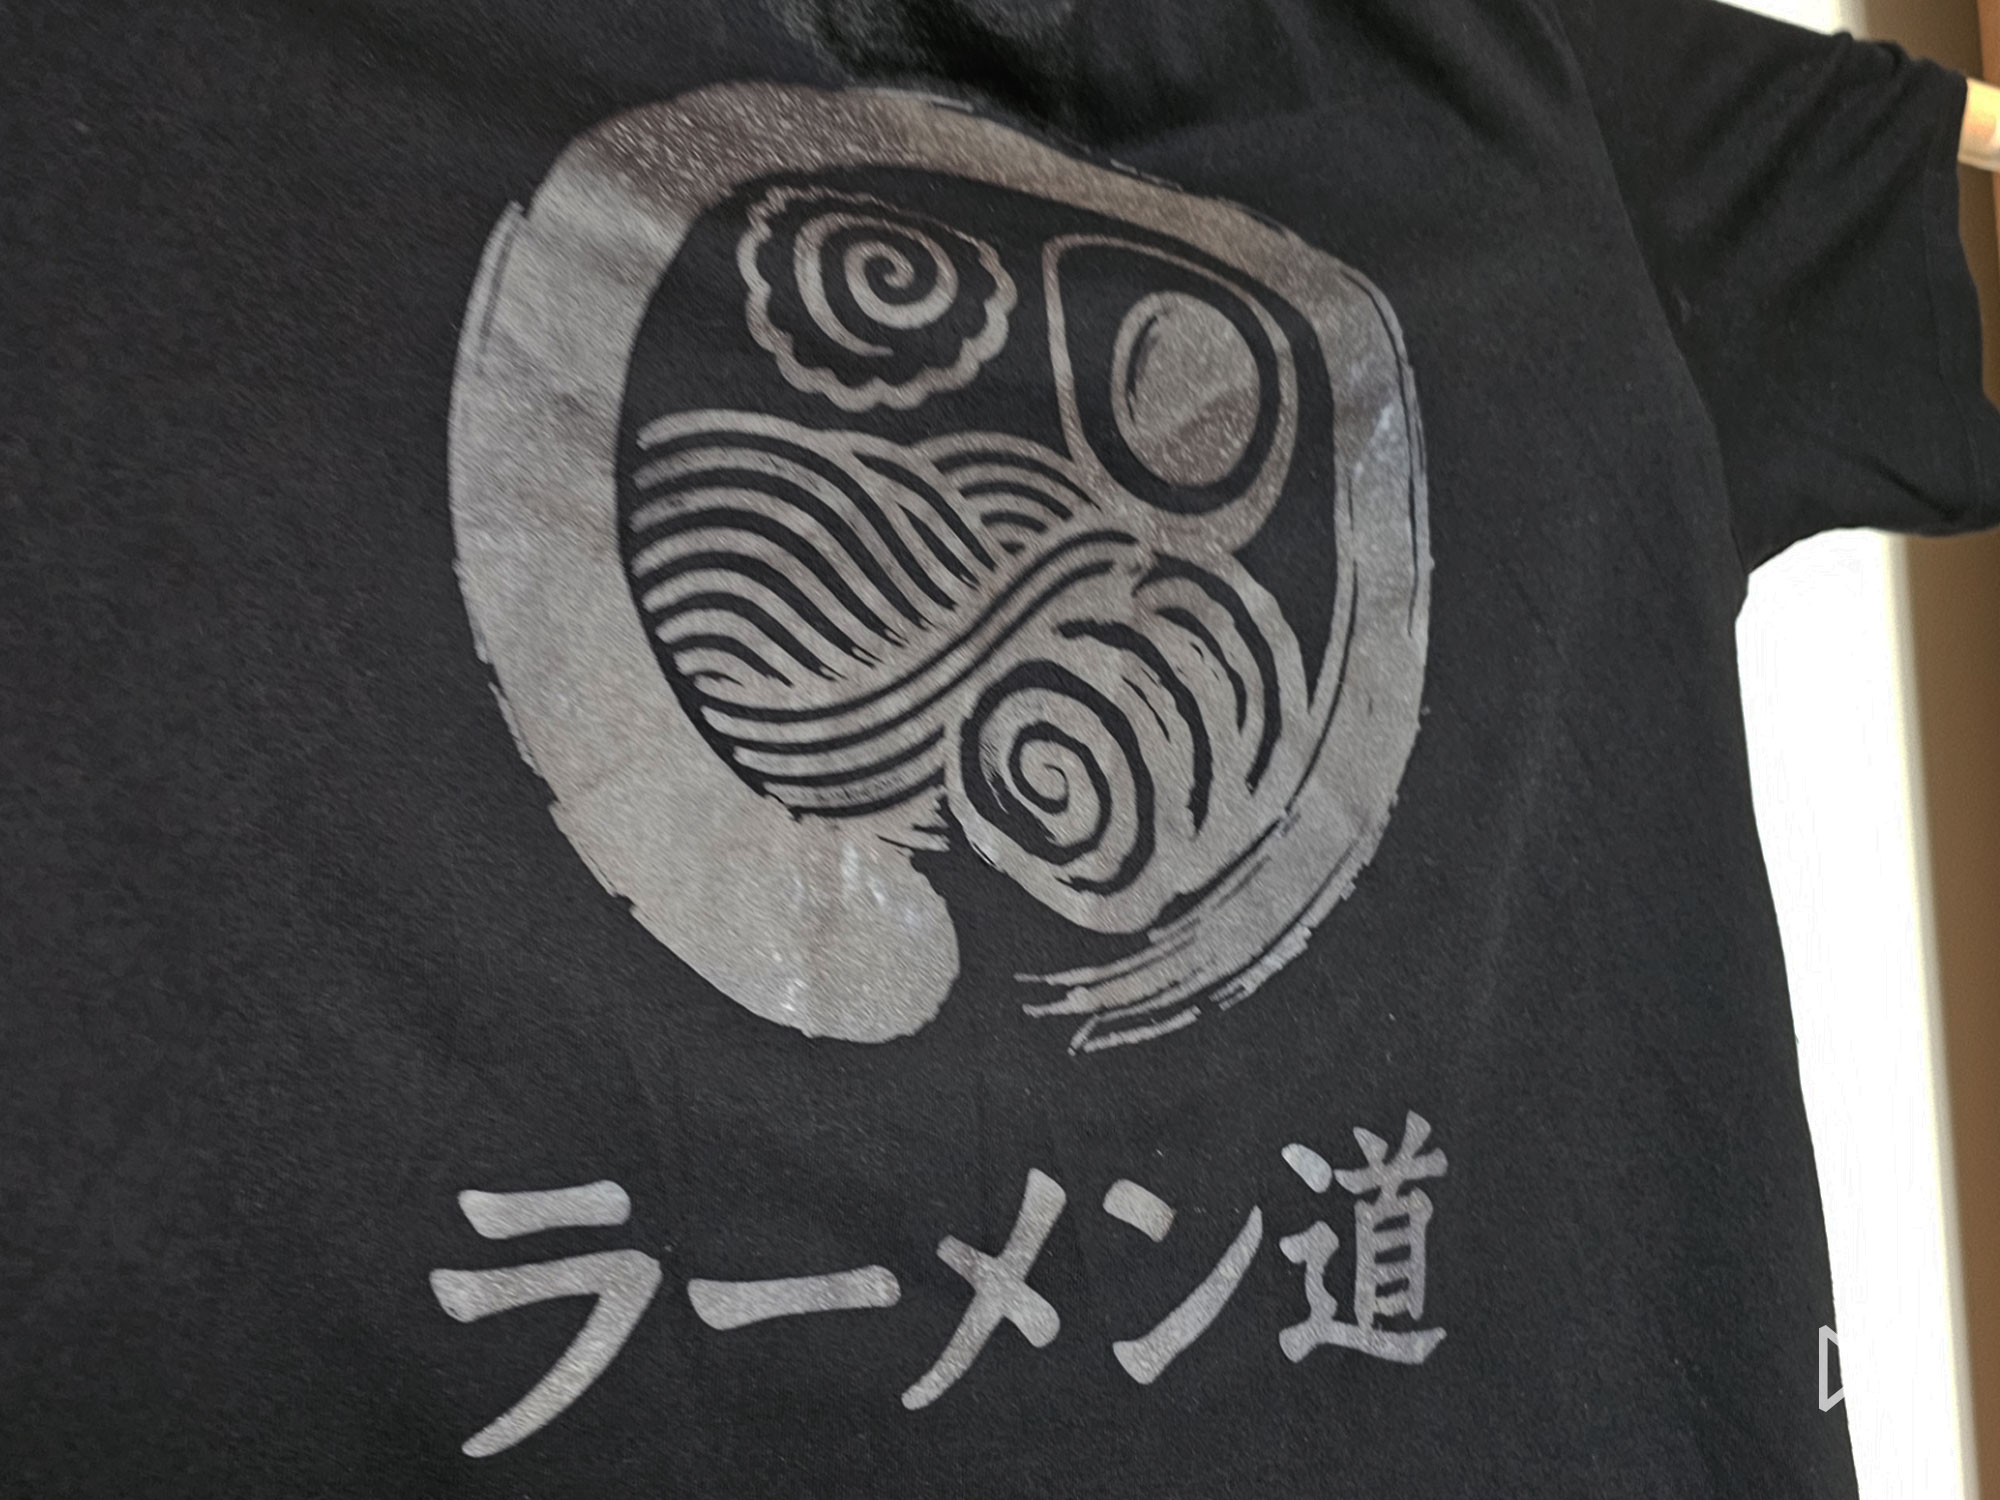
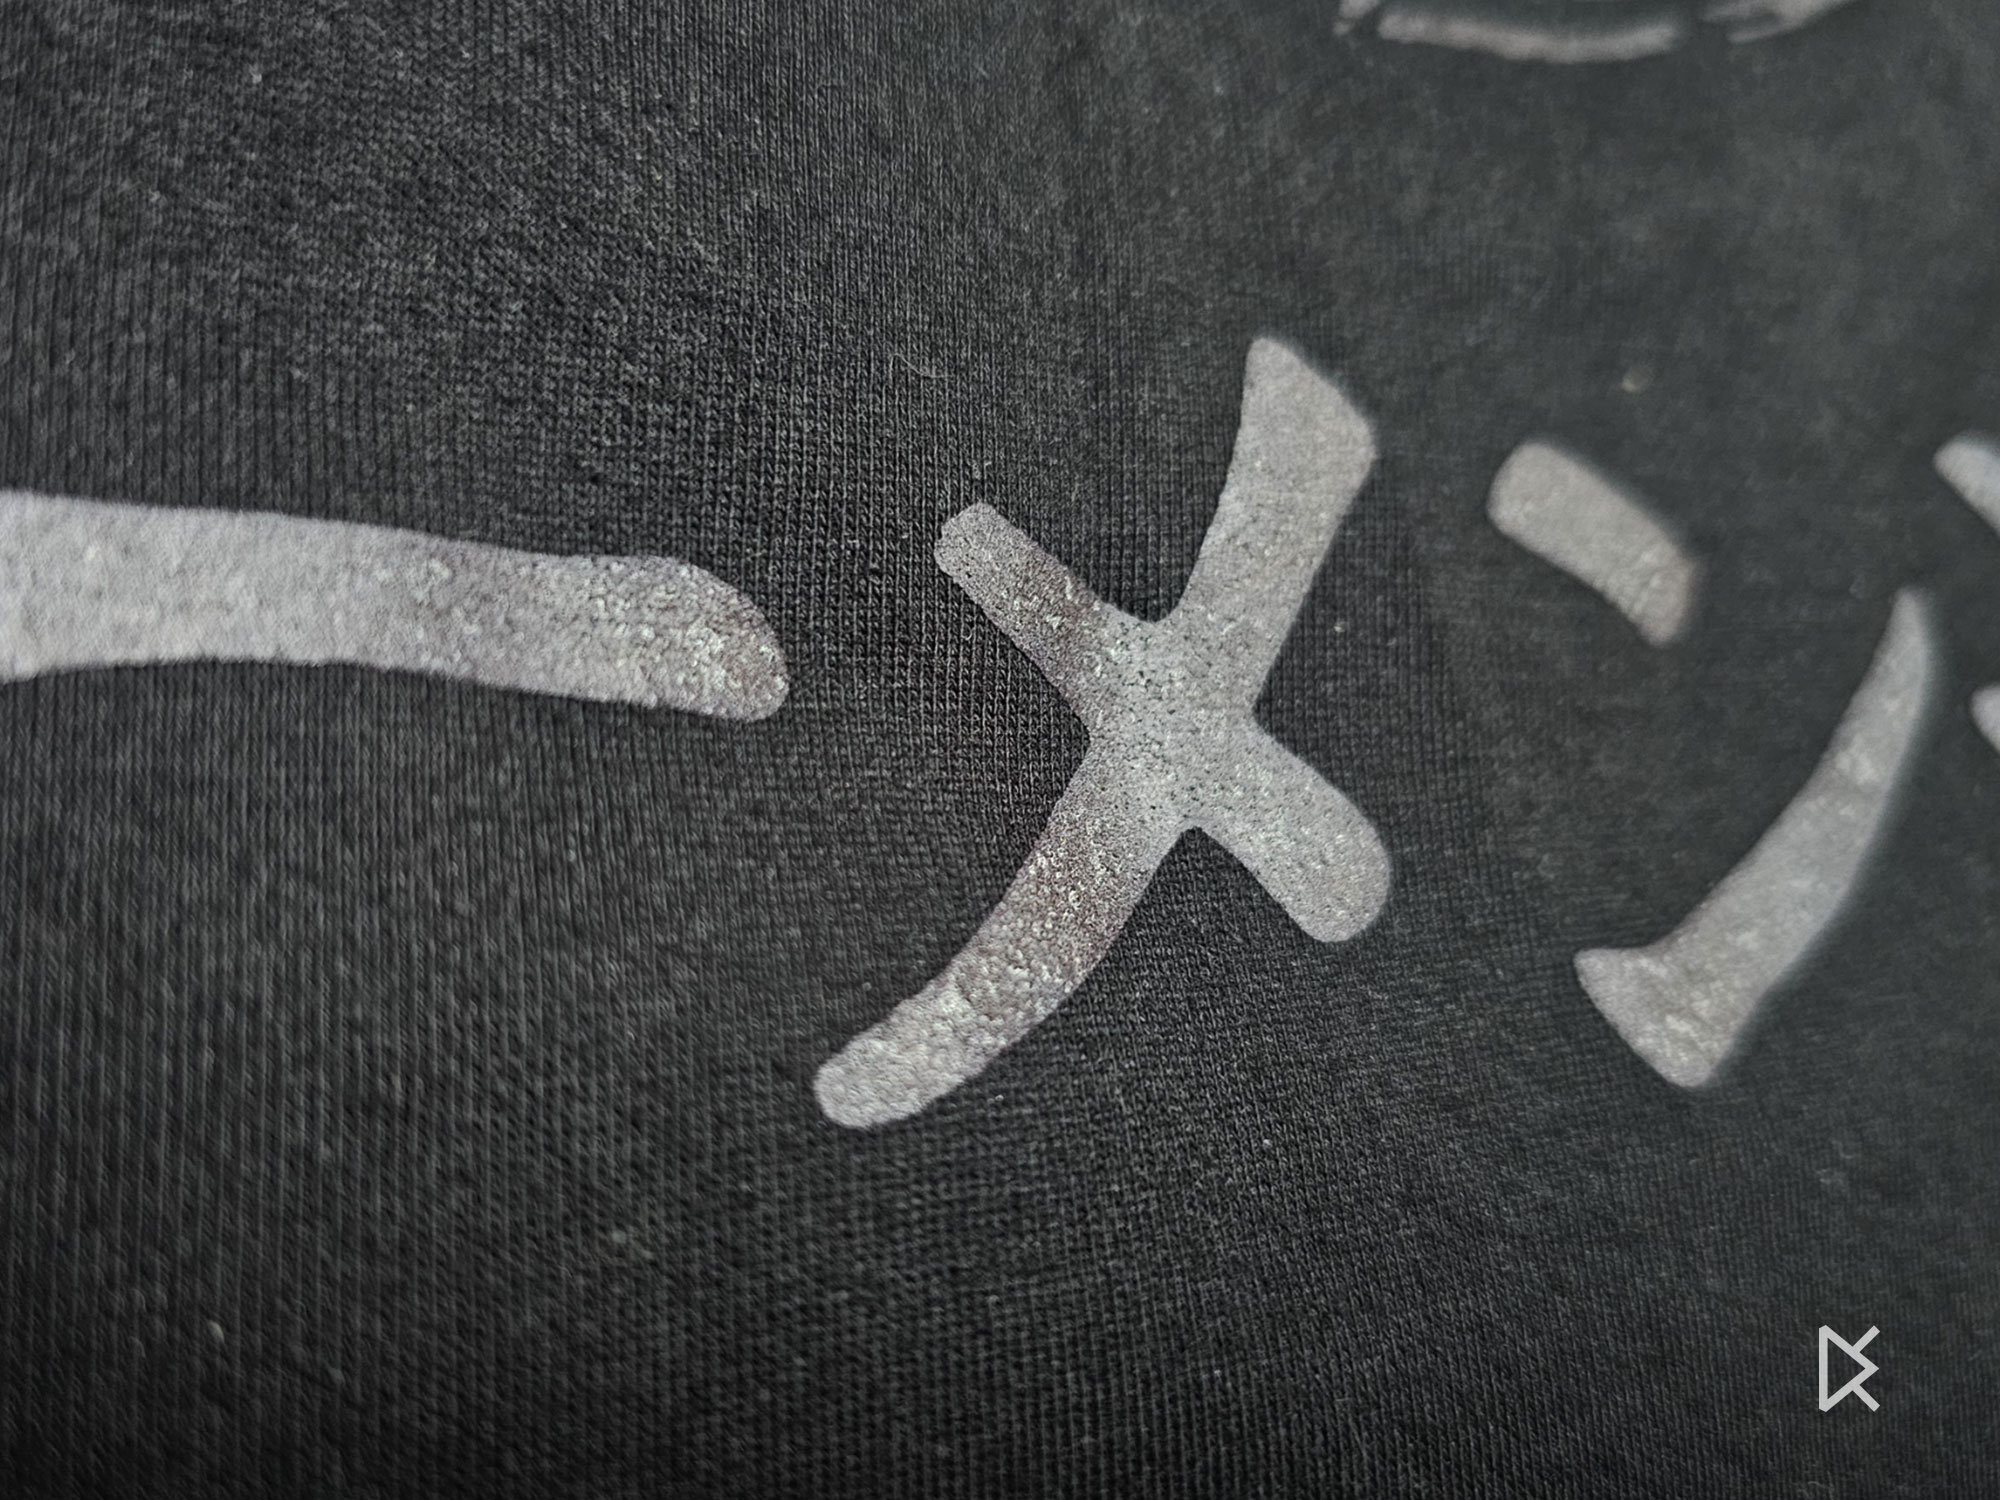
Up close, the TPU follows the weave of the cotton: it is fused into the fabric, not laid on top of it.
What matters
- Soft TPU, Shore 95A or lower: the softer, the better it bonds.
- 100% cotton: synthetic fabrics may melt or not take the TPU.
- Dry fabric: iron the shirt first to drive out moisture.
- A flat, tight sheet on the bed: baking paper held with magnets, with glue to keep the first layer down.
- No steam, maximum heat, firm pressure.
Steps in short
- Fix baking paper to the bed with magnets, cover it with glue stick and heat the bed to 50–60 °C; re-tension the paper once it is hot.
- Print the graphic in TPU directly on the paper.
- Iron the shirt dry, with a sheet of paper inside.
- Lay the printed paper on the shirt, TPU side down, and iron firmly until the TPU has fused.
- Iron again from the inside, behind the print.
- Let it cool, peel the paper off, and wash the shirt before wearing it.
The full illustrated guide is on the Ramen-dō TPU Shirt page.
Common failures
- The print lifts when you peel the paper: it has not fused yet. Lay the paper back and iron longer.
- The paper wrinkles on the bed: the glue adds moisture. Re-tension it once the bed is hot.
- The edges lift after washing: iron the print again. Wash at 30 °C and do not tumble dry.
Before you start
Once fused, the print cannot be removed. Use a sacrificial shirt for the first tests: results depend a lot on the filament and the fabric.